基于高德的天气助手
危险
- 该项目为高级项目,建议有一定基础的同学尝试,如遇问题,欢迎反馈
- 项目中使用的
高德服务并非小喵服务器,用户在项目应用中所遇到的任何与网络相关的问题均可能受到高德服务本身、或当前所处的网络环境影响
项目简介
充分利用未来板彩屏优势,通过板载的wifi连接网络request请求并获取高德天气服务,从而制作一个置于室内方便查看天气和时间的趣味摆饰。
项目将具体包含以下功能:
- 显示城市当前天气信息包括温度、湿度、天气状况、风力风向
- 显示实时时间包含年、月、日、星期、小时、分钟、秒
项目清单
| 材料 | 备注 |
|---|---|
| 未来板 | x1 |
| Type-C 数据线 | x1 |
| 网络热点(手机/路由器) | 2.4G |
实现步骤
步骤概况
- STEP1:注册高德服务开放平台账号,获取个人Key
- STEP2:掌握高德天气API调用方法,线上调试
- STEP3:分步编写未来板程序
- STEP4:整合程序,完成功能
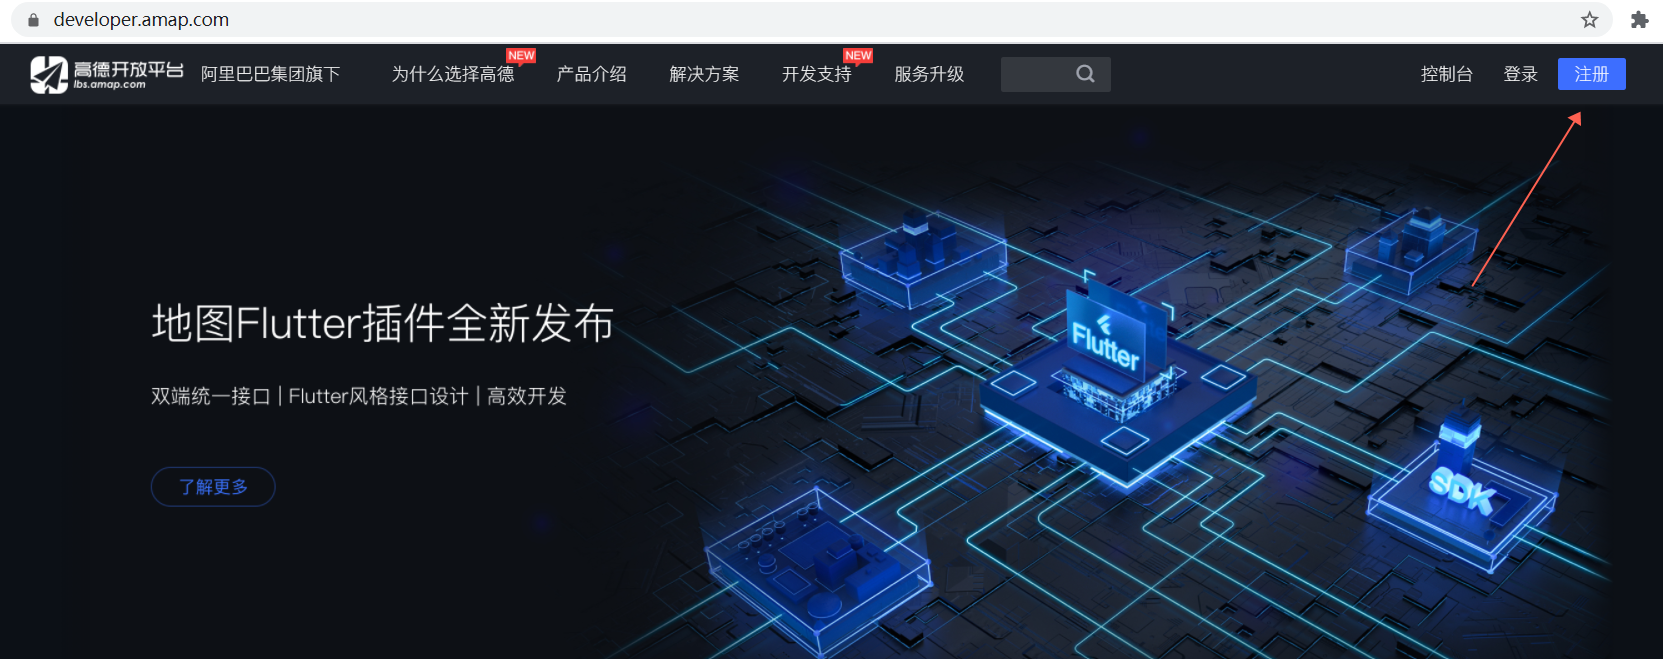
STEP1:注册高德服务账号
🚀 高德开放平台地址:https://developer.amap.com/
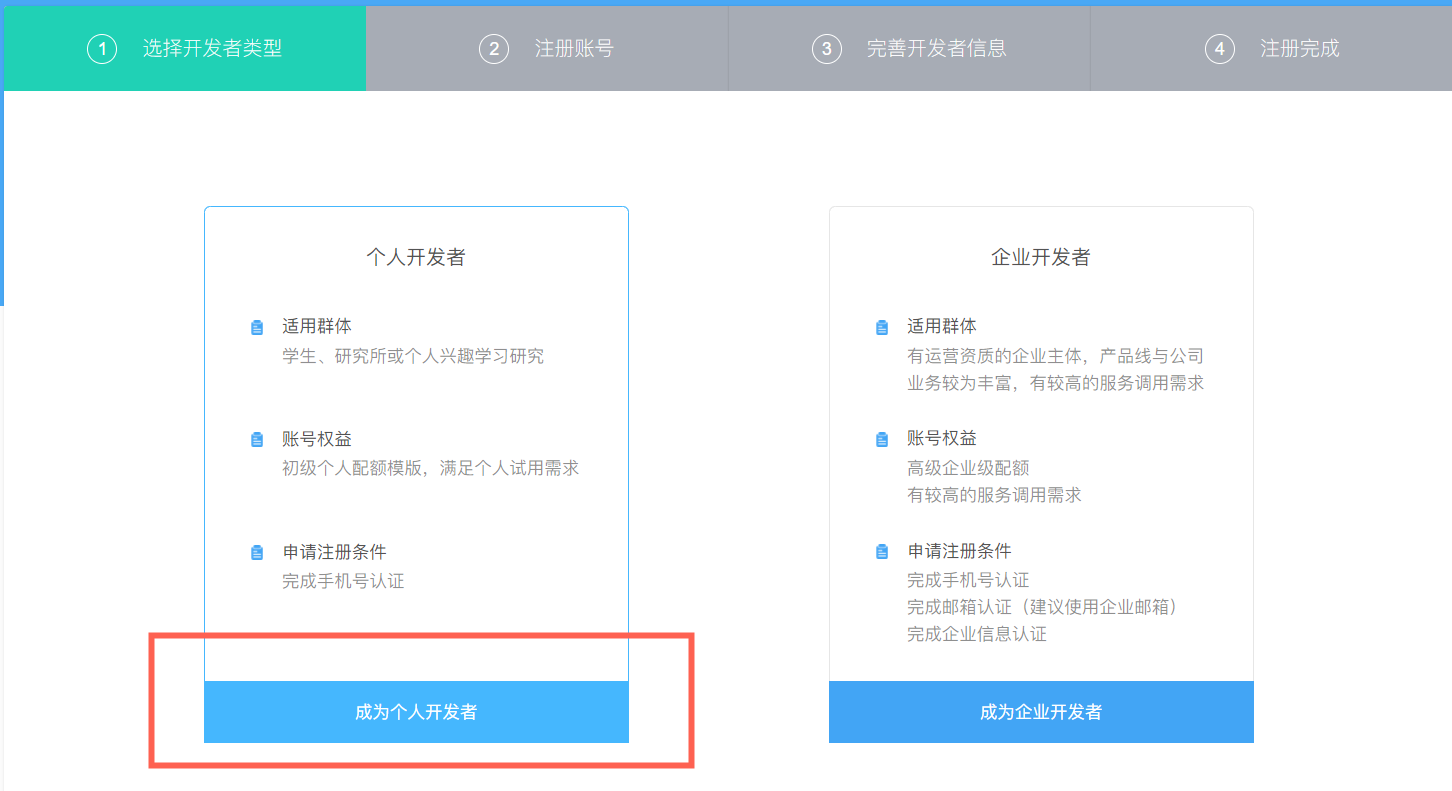
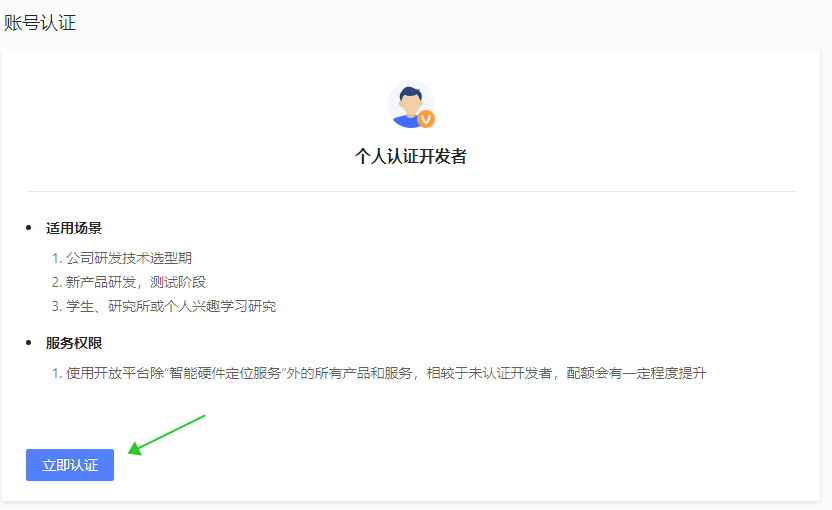
- 按照下图步骤进行个人开发者账号注册
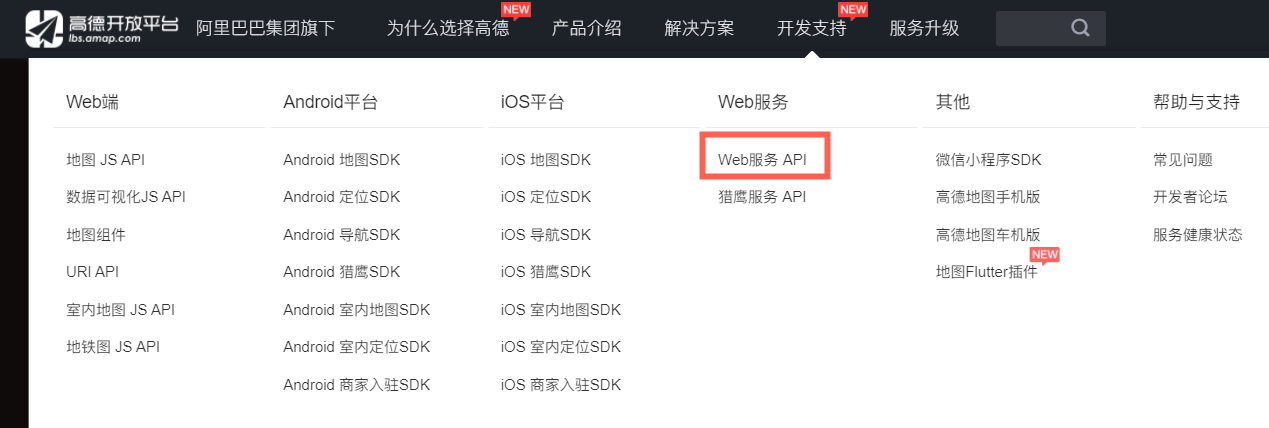
- 注册成功后登录,打开——Web服务API,申请Key
危险
介于近年国家对网络信息的监管,我们可能需要填写认证信息,否则无法申请key。
- 申请Key需要先创建应用
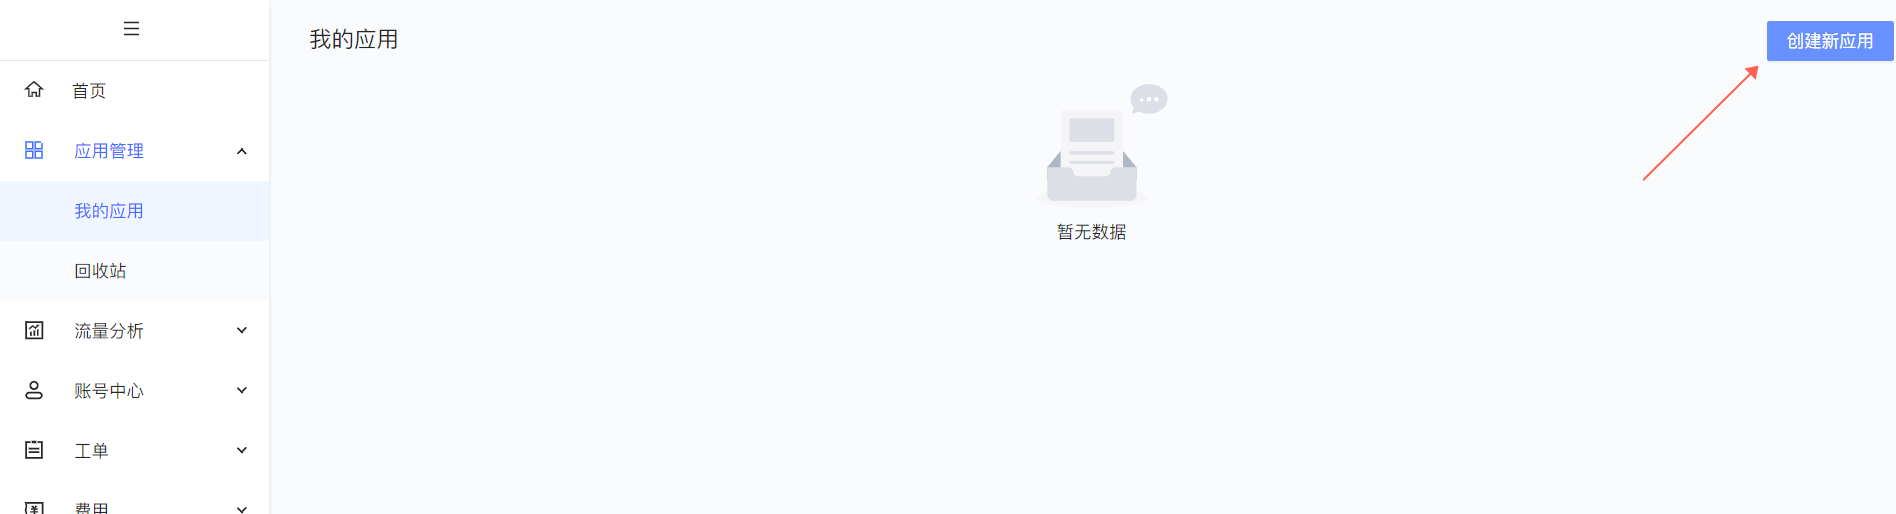
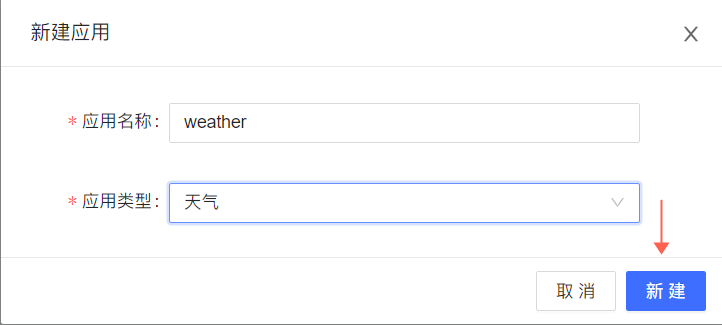

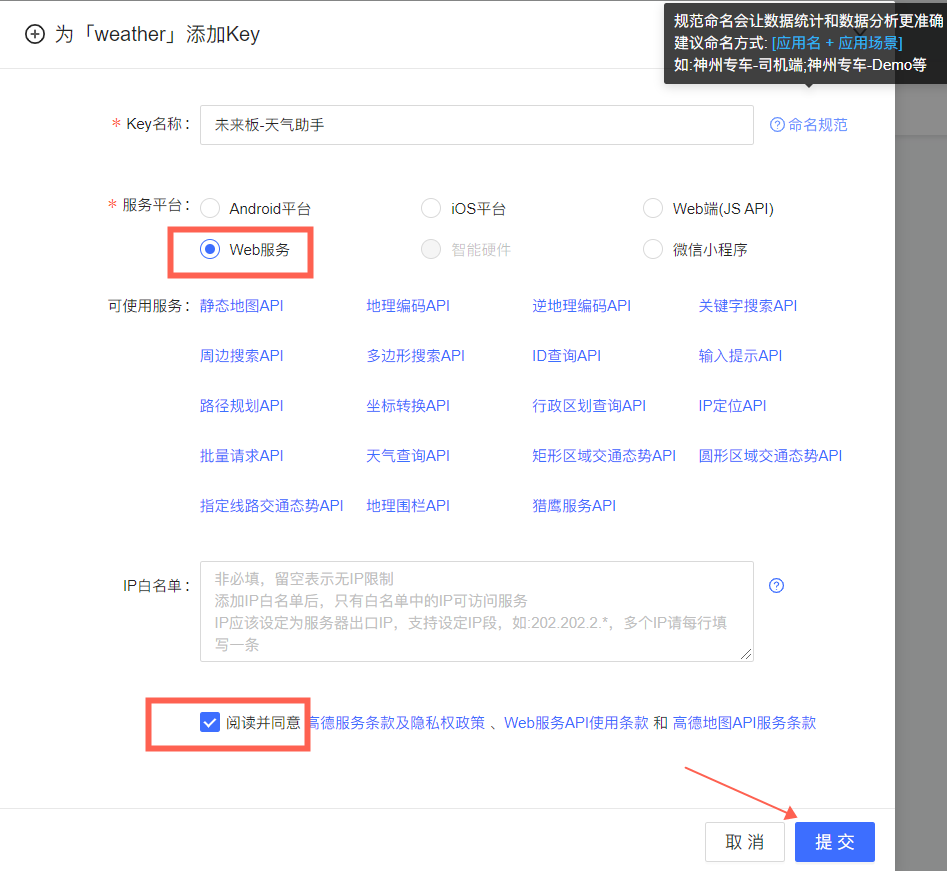
- 得到Key

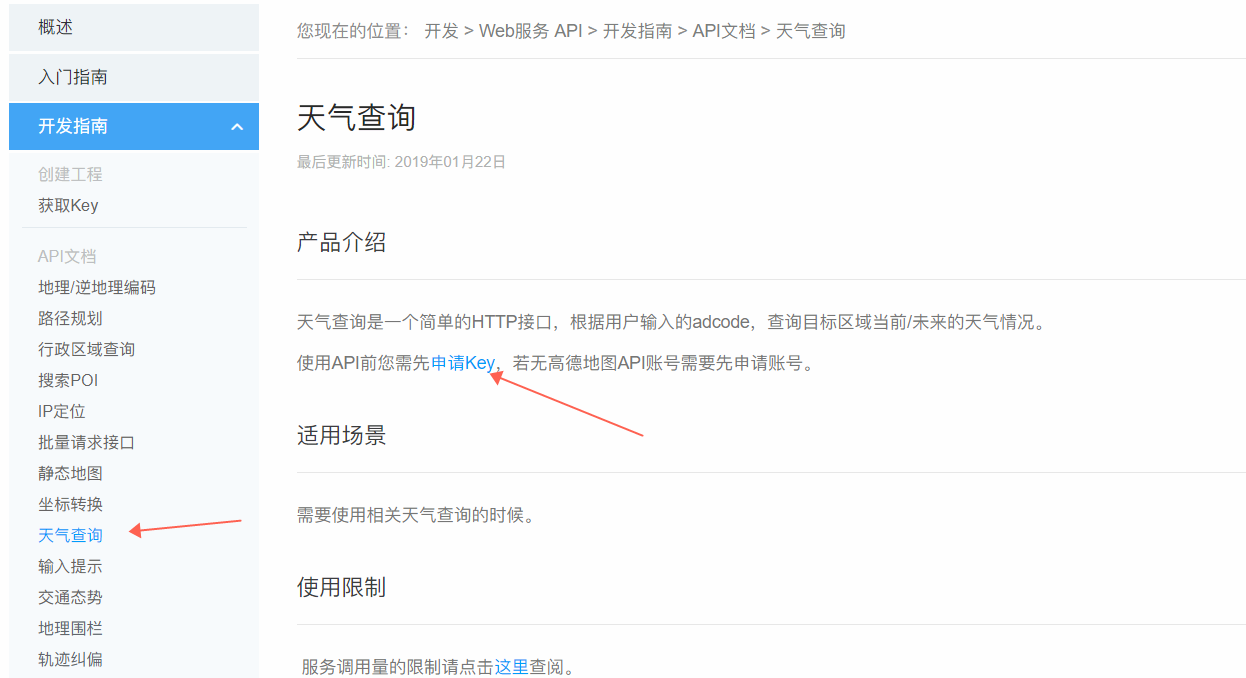
STEP2:掌握高德天气API调用方法并调试
- 回到天气查询页面
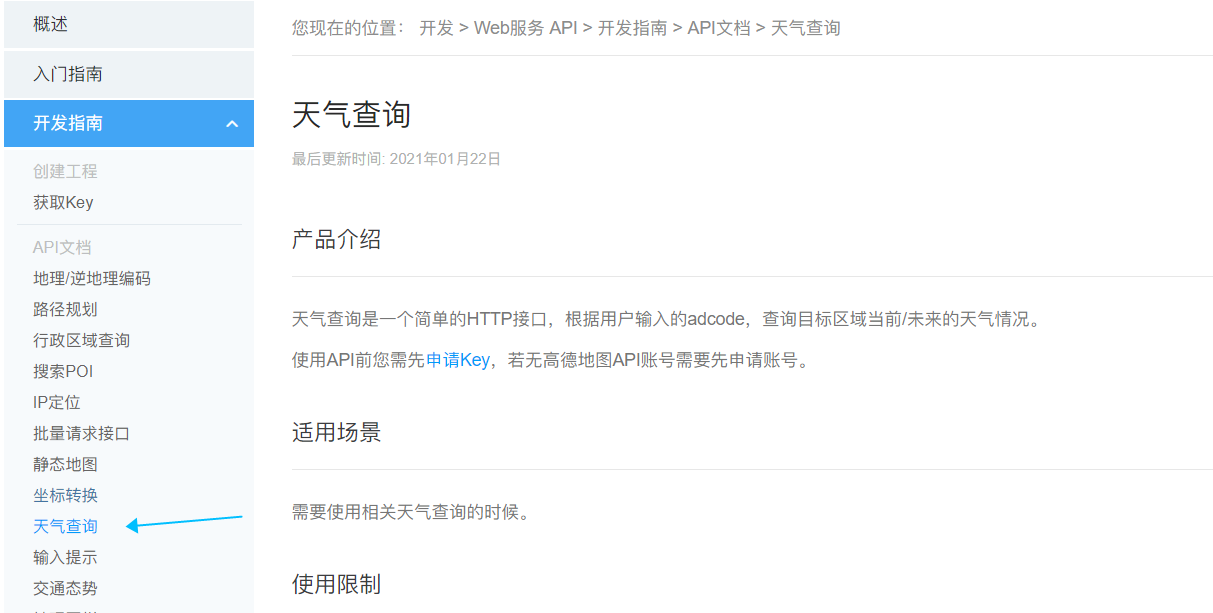
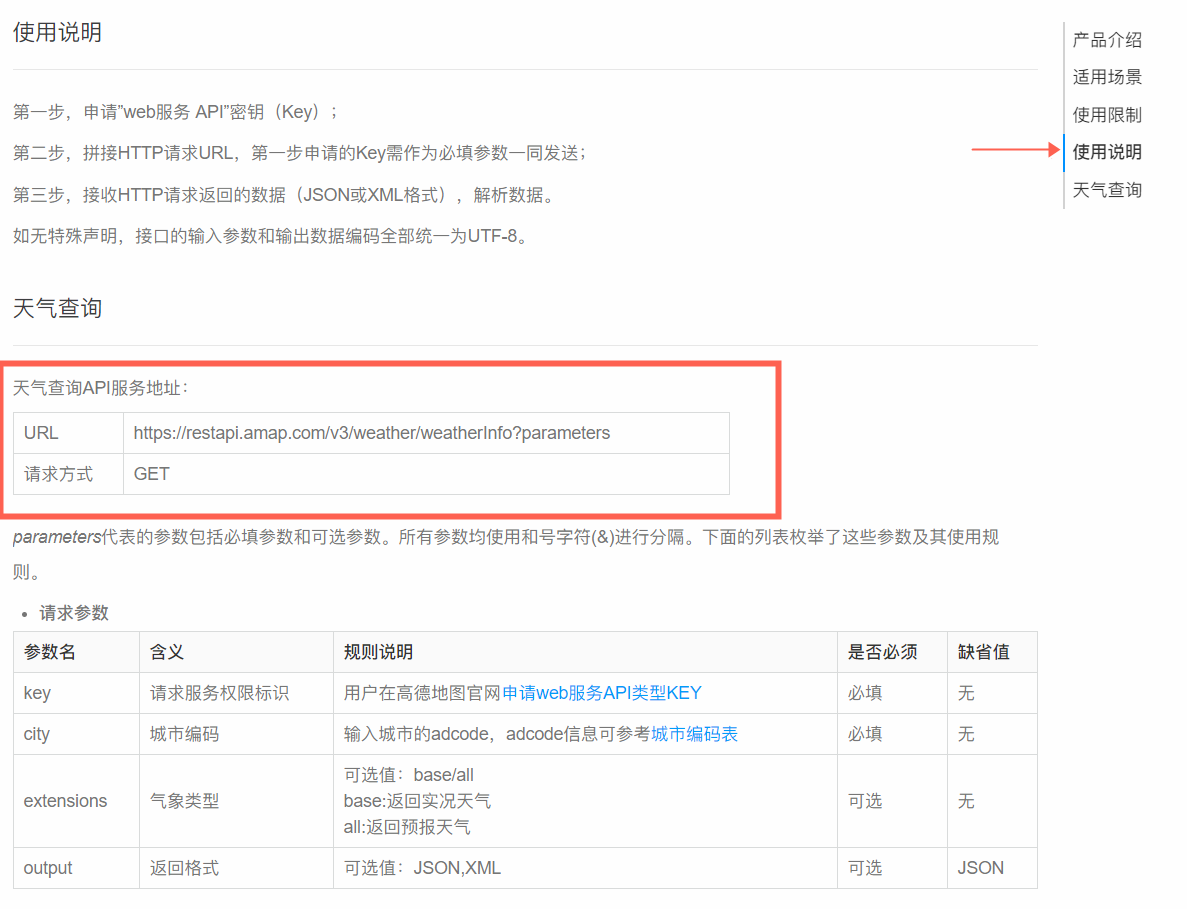
- 跳转到使用说明部分,可见天气查询的API服务地址
- 跳转到天气查询,修改city为你的城市,点击运行,可查看服务URL,复制这条URL并将其中的 您的key 替换为第一步中申请得到的key
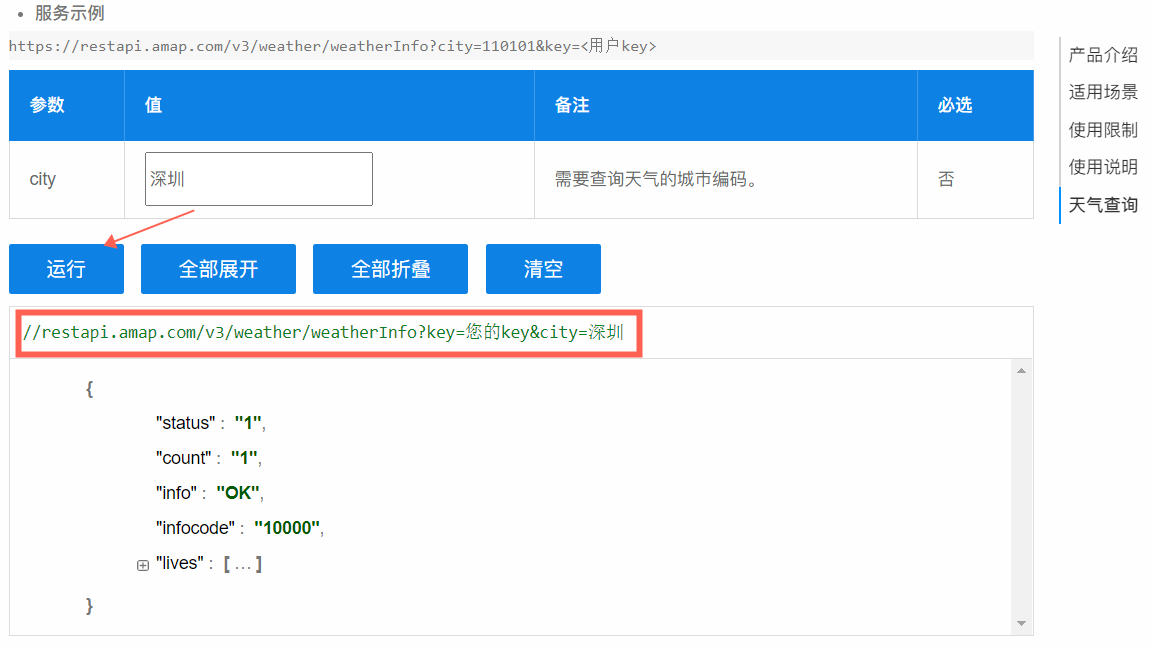
- 测试结果如下

注意:如果复制URL,并更改了个人key不能显示所查询地点的天气,注意连接中/weatherInfo?key,中?是否变为%3F,如果是把它改为英文?
STEP3:编写未来板程序
- 导入必要库
from future import *        # 未来板必要库
import urequests            # 网络API请求
import ujson                # 用于处理网络返回的数据
from machine import RTC     # 未来板时钟
import ntptime              # 同步网络时间
- 未来板联网危险
只能连接非5G的网络,可以是手机4G热点,路由器2.4G wifi网路
router = 'wifiName'
pwd = 'password'

# 做一手判断,只有当前未连接网络才进行网络连接,避免反复连接
if not(wifi.sta.isconnected()):
    wifi.connect(router,pwd)
完成连接后,未来板屏幕上会看到当前的IP地址,一般为192.168.xx.xx
- 同步网络时间
rtc = RTC()         # 实例化一个时钟对象来计算时间
ntptime.settime()   # 自动同步网络时间到主控板时钟
screen.sync = 0     # 取消屏幕显示的同步刷新,这样不会造成屏幕由明显的刷新闪烁

while 1:
    time = rtc.datetime()    # 获取时间,格式为(年,月,日,星期,小时,分钟,秒,微妙)
    date = str(time[0:3])[1:-1].replace(', ','.')
    week = "week:"+str(time[3])
    hourMin = str(time[4])+':'+ str(time[5])
    sec = str(time[6])
- 请求高德天气,解析并拆分返回的实况天气数据危险
之所以将请求的程序放置在按键检测下,是由于API的调用对于个人用户而言是有限制的,单日免费次数为10w次,隔日刷新
API_URL = "https://restapi.amap.com/v3/weather/weatherInfo?key=您的key&city=城市中文"
flag = 0
while 1:
    if sensor.btnValue('a'):
        r = urequest.get(API_URL)               # r存储返回的数据
        weather = ujson.loads(r.content)        # weather存储解析后的天气数据
        if weather['status'] == '1':            # 其中解析得到的json格式数据中的'status'是状态,1成功
            flag = 1
            city = weather['lives'][0]['city']                  # 城市
            condition = weather['lives'][0]['weather']          # 天气状况
            temp = weather['lives'][0]['temperature']           # 温度
            humi = weather['lives'][0]['humidity']              # 湿度
            winddir = weather['lives'][0]['winddirection']      # 风向
            windpw = weather['lives'][0]['windpower']           # 风力
- 将得到的天气和时间数据均匀地显示在屏幕上
while 1:
    # 因为天气相关的参数只有当按下A键才获取到,所以建议用变量来控制启动
    if flag:
        screen.fill(0)
        screen.rect(2,0,40,20,fill = 1,color=(244,123,45))
        screen.textCh(city, x=5, y = 5)
        screen.loadPng(condition+'.png',x = 160-64)   # 显示天气状况图标
        screen.textCh("温度:"+temp+'℃',x = 5, y = 68)
        screen.textCh("湿度:"+humi+"%",x = 5, y=88)
        screen.textCh("风向:"+winddir,x = 5, y=28)
        screen.textCh("风力:"+windpw,x = 5, y=48)
        screen.textCh(condition,x = 50, y=5, color=(0,168,255))
        screen.text(date,x = 5, y=108)
        screen.text(week, x= 96, y=108)
        screen.text(hourMin, x= 80, y=70, ext=2)
        screen.text(sec, x= 124, y=90, ext=2)
        screen.refresh()
- 天气图标的获取
你可以发现上面的程序提及到了天气图标,而天气图标我们本来可以采用将图片文件导入到未来板的文件系统,但既然有了网络,直接从网络端获取岂不美哉?
# 这个json文件存放了我们所需的所有天气图标的名称和对应的URL地址
url = "https://cdn.kittenbot.cn/productResources/weather_icon/weather_icon_url.json"
# 我们需要将这个json下载到板子的文件系统内并命名为name
name = "weather_icon_url.json"
import ujson
wifi.download(url, name) # 阻塞形,可以在前后加上显示用于提示

# 读取下载好的json文件,取得并分割里面的必要信息,分别是需要的图片名称和相对应的图标下载地址
with open('weather_icon_url.json','r') as f:
    icon_map = ujson.loads(f.read())
    # print(icon_map)
    FILE_NAME = list(icon_map.keys())   # 图标名称,比如 "晴.png" 是对应晴天的图标
    FILE_URL = list(icon_map.values())  # 图标的下载地址

# 需要下载的文件数就是文件名列表中的元素个数,所以for循环列表长度次
screen.clear()
screen.textCh('正在拉取网络资源', x=30, y=40)
for i in range(len(FILE_NAME)):
    wifi.download(FILE_URL[i], FILE_NAME[i])  # 网络文件的URL, 以及为存储到未来板内的文件命名
    # 模拟进度条
    screen.rect(30, 64, 100, 14)
    screen.rect(30, 64, 100/43*i, 14, color=(133,255,133), fill=1)
    screen.refresh()
screen.fill(0)
screen.textCh('资源拉取完成', x=42, y=40)
screen.refresh()
信息
进度条采用了区间映射公式,需要已知2个量求一个变量
- 设置进度条为Y区间在0~100个像素
- 假设文件数有40个,文件下载完成度为X,文件下载的完成度区间在0~40
那么有公式:
STEP4:整合程序,完成功能
危险
以下代码中有2处需要您手动修改
- 联网的热点账号和密码修改为你自己的
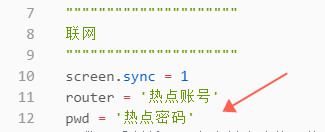
- 高德账号的应用key和需要查询的城市

from future import *        # 未来板必要库
import urequests            # 网络API请求
import ujson                # 用于处理网络返回的数据
from machine import RTC     # 未来板时钟
import ntptime              # 同步网络时间

"""""""""""""""""""""
联网
"""""""""""""""""""""
screen.sync = 1
router = '热点账号'
pwd = '热点密码'
# 做一手判断,只有当前未连接网络才进行网络连接,避免反复连接
if not(wifi.sta.isconnected()):
    wifi.connect(router,pwd)


"""""""""""""""""""""
从网络拉取素材(如果已经拉过一次,可以把这段代码注释掉)
"""""""""""""""""""""
# 这个json文件存放了我们所需的所有天气图标的名称和对应的URL地址
url = "https://cdn.kittenbot.cn/productResources/weather_icon/weather_icon_url.json"
# 我们需要将这个json下载到板子的文件系统内并命名为name
name = "weather_icon_url.json"
import ujson
wifi.download(url, name) # 阻塞形,可以在前后加上显示用于提示

# 读取下载好的json文件,取得并分割里面的必要信息,分别是需要的图片名称和相对应的图标下载地址
with open('weather_icon_url.json','r') as f:
    icon_map = ujson.loads(f.read())
    # print(icon_map)
    FILE_NAME = list(icon_map.keys())   # 图标名称,比如 "晴.png" 是对应晴天的图标
    FILE_URL = list(icon_map.values())  # 图标的下载地址
screen.sync = 0
# 需要下载的文件数就是文件名列表中的元素个数,所以for循环列表长度次
screen.clear()
screen.textCh('正在拉取网络资源', x=30, y=40)
for i in range(len(FILE_NAME)):
    wifi.download(FILE_URL[i], FILE_NAME[i])  # 网络文件的URL, 以及为存储到未来板内的文件命名
    # 模拟进度条
    screen.rect(30, 64, 100, 14)
    screen.rect(30, 64, 100/43*i, 14, color=(133,255,133), fill=1)
    screen.refresh()
screen.fill(0)
screen.textCh('资源拉取完成', x=42, y=40)
screen.textCh('按下A键开启助手', x=36, y=66, color=(255,122,122))
screen.refresh()


"""""""""""""""""""""
简单的初始化
"""""""""""""""""""""
rtc = RTC()         # 实例化一个时钟对象来计算时间
ntptime.settime()   # 自动同步网络时间到主控板时钟
screen.sync = 0     # 取消屏幕显示的同步刷新,这样不会造成屏幕由明显的刷新闪烁
KEY = ''    # 请填写您的key
CITY = '深圳市'
API_URL = "https://restapi.amap.com/v3/weather/weatherInfo?key="+KEY+"&city="+CITY
flag = 0

"""""""""""""""""""""
获取天气时间并显示
"""""""""""""""""""""
while 1:
    time = rtc.datetime()    # 获取时间,格式为(年,月,日,星期,小时,分钟,秒,微妙)
    date = str(time[0:3])[1:-1].replace(', ','.')
    week = "week:"+str(time[3])
    hourMin = str(time[4])+':'+ str(time[5])
    sec = str(time[6])

    if sensor.btnValue('a'):
        r = urequests.get(API_URL)                  # r存储返回的数据
        weather = ujson.loads(r.content)        # weather存储解析后的天气数据
        if weather['status'] == '1':            # 其中解析得到的json格式数据中的'status'是状态,1成功
            buzzer.tone(243,0.5)
            flag = 1
            city = weather['lives'][0]['city']                  # 城市
            condition = weather['lives'][0]['weather']          # 天气状况
            temp = weather['lives'][0]['temperature']           # 温度
            humi = weather['lives'][0]['humidity']              # 湿度
            winddir = weather['lives'][0]['winddirection']      # 风向
            windpw = weather['lives'][0]['windpower']           # 风力

    # 因为天气相关的参数只有当按下A键才获取到,所以建议用变量来控制启动
    if flag:
        screen.fill(0)
        screen.rect(2,0,40,20,fill = 1,color=(244,123,45))
        screen.textCh(city, x=5, y = 5)
        screen.loadPng(condition+'.png',x = 160-64)   # 显示天气状况图标
        screen.textCh("温度:"+temp+'℃',x = 5, y = 68)
        screen.textCh("湿度:"+humi+"%",x = 5, y=88)
        screen.textCh("风向:"+winddir,x = 5, y=28)
        screen.textCh("风力:"+windpw,x = 5, y=48)
        screen.textCh(condition,x = 50, y=5, color=(0,168,255))
        screen.text(date,x = 5, y=108)
        screen.text(week, x= 96, y=108)
        screen.text(hourMin, x= 80, y=70, ext=2)
        screen.text(sec, x= 124, y=90, ext=2)
        screen.refresh()